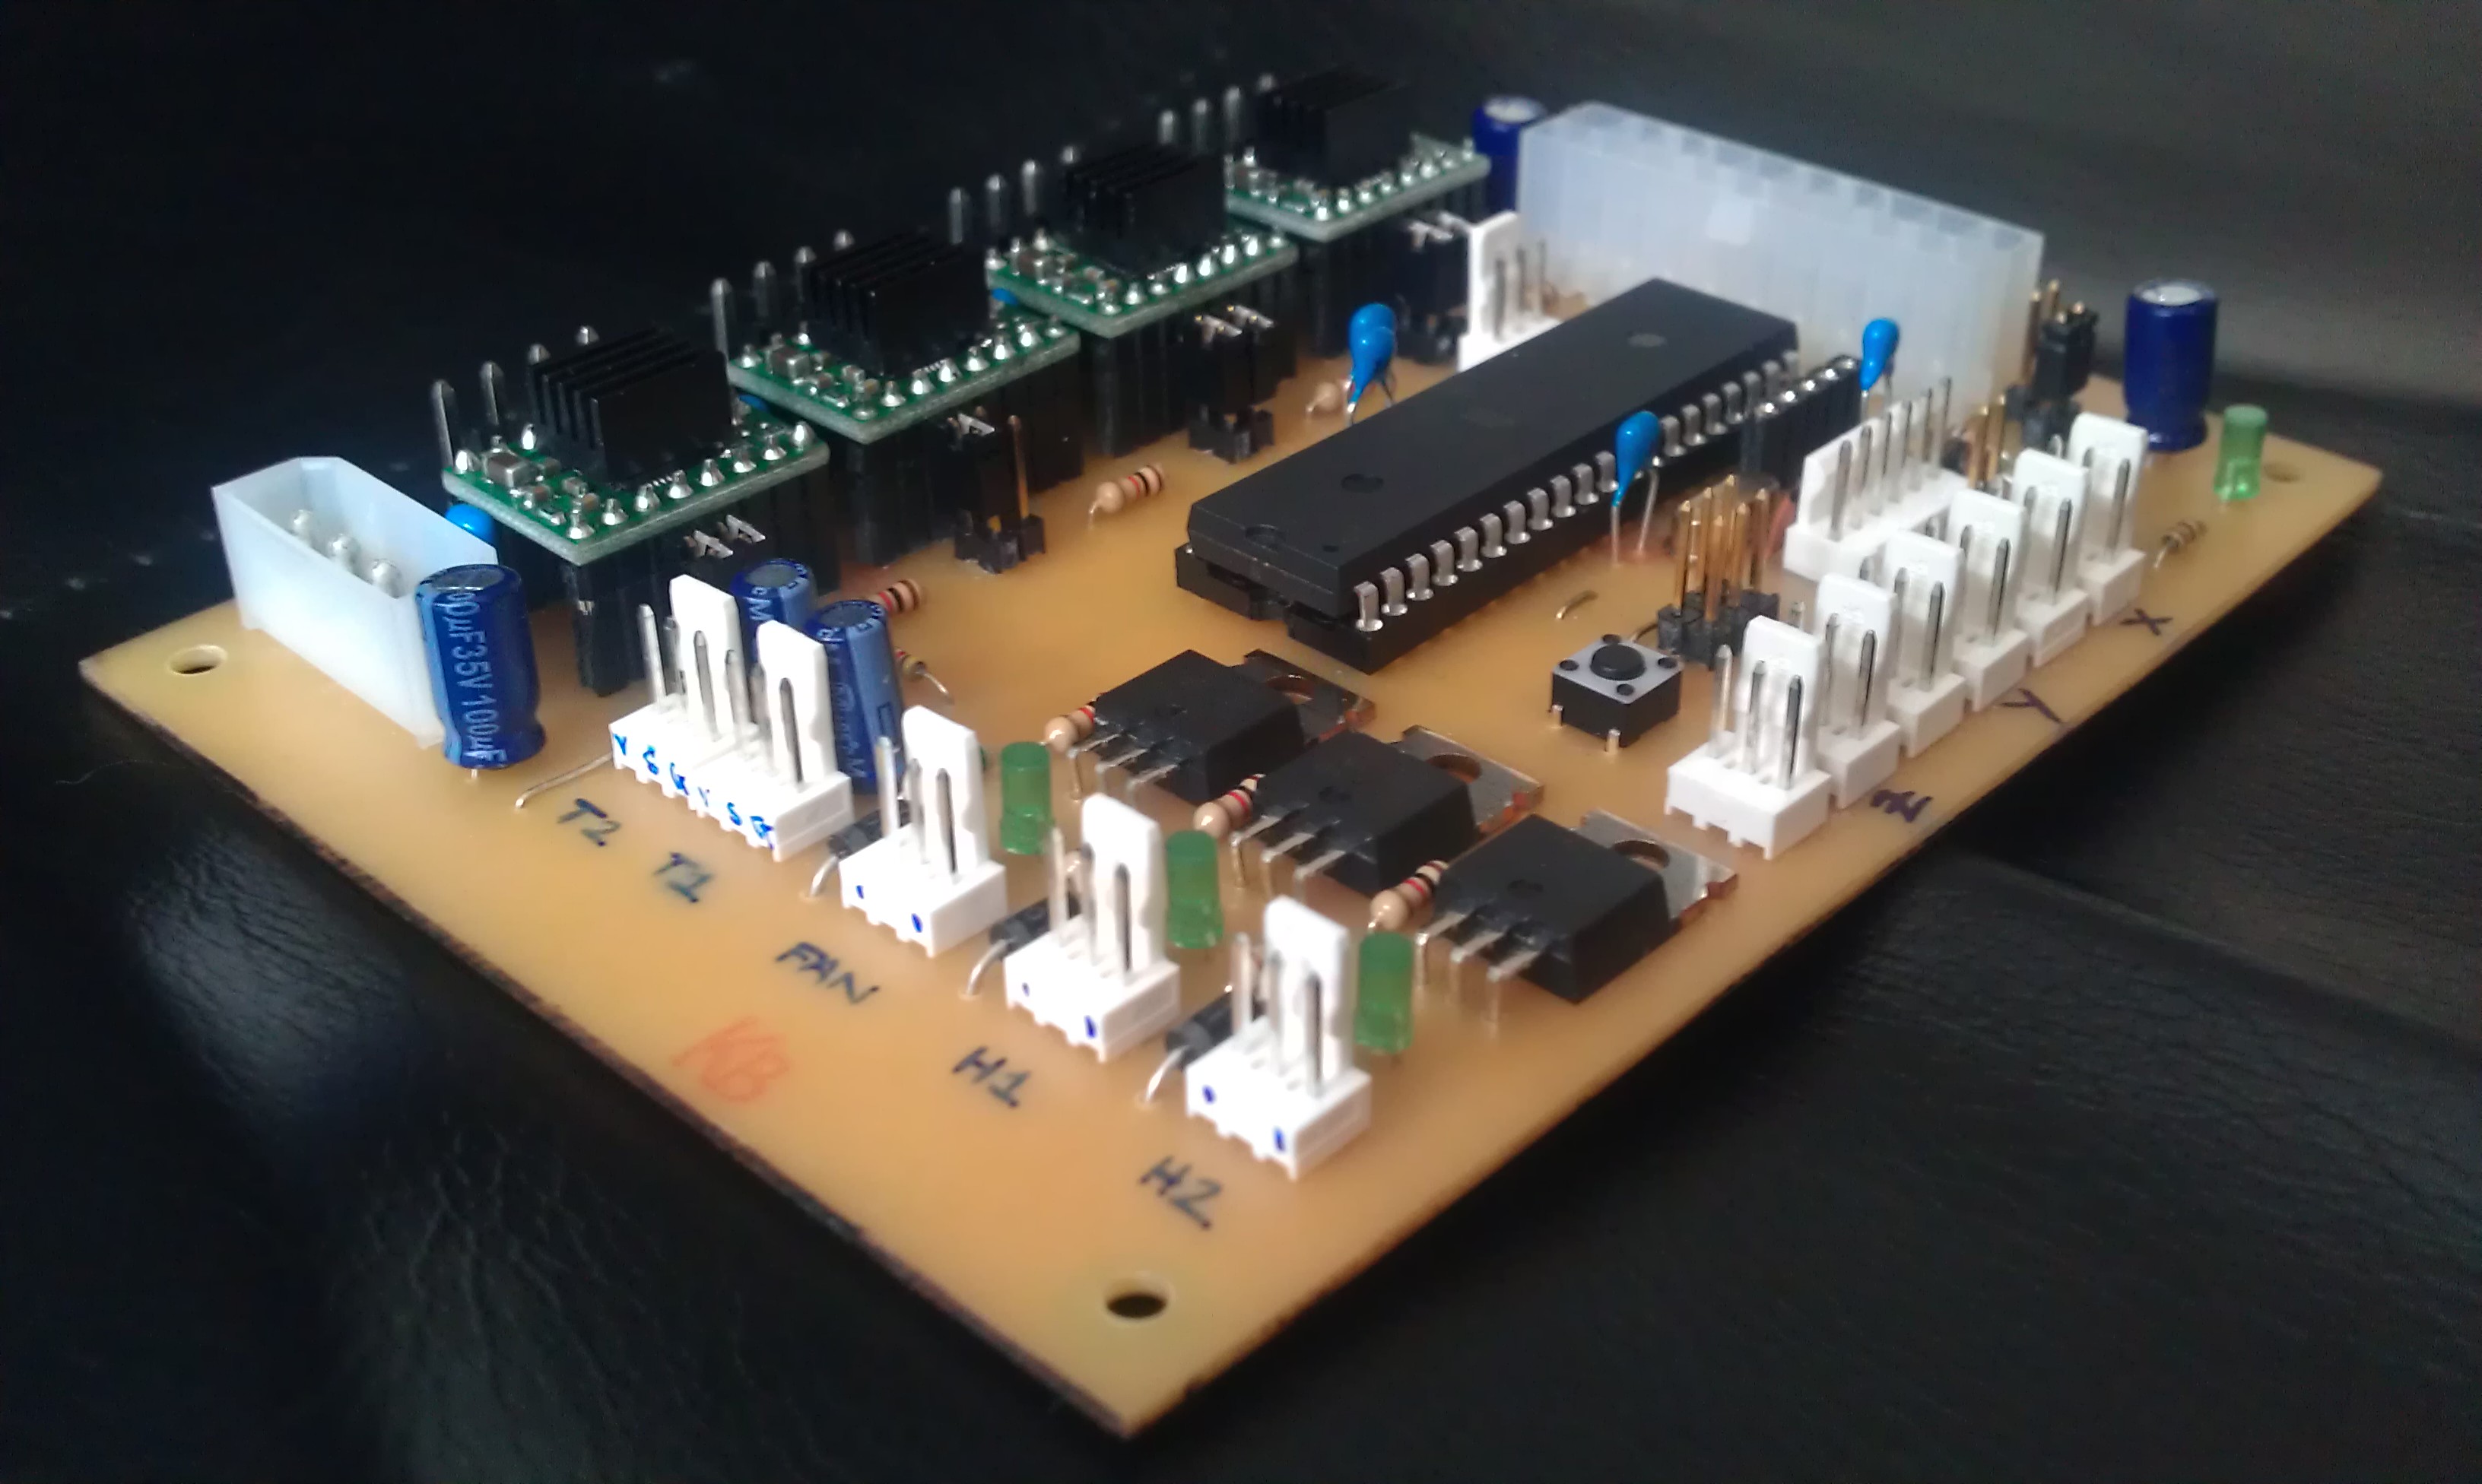
The trial run at making our own Gen 7 PCB was a success, so we ordered the components and went for the real thing. A few tricky obstacles required surmounting including out-of-date config files, a blown Pololu and invisible shorts, but finally we have life!
Fabrication
The etching and drilling progressed smoothly thanks to the lessons learnt from the first attempt. The soldering also wasn’t too much of a challenge, especially when using a dot of superglue to keep tricky components like headers in place. I am having trouble with my soldering iron tips though, they really need a clean. So far I’ve just switched the tips out for new ones, but that is a bit of an expensive habit and so the issue needs addressing sooner rather than later.

The power supply checks were all fine so I went ahead and installed the Atmega644 and Pololus.

Burning the Bootloader
We have a USBtinyISP AVR programmer and are working primarily with Windows so the wiki instructions needed adapting. We ended up with the following that worked successfully:
Teacup Firmware
Teacup appears to be the firmware of choice for Gen 7, and there are links to config files and installation instructions on the wiki page. The config.h file was out-of-date and caused compile errors:
In file included from gcode_process.c:20:

pinio.h:42:20: error: macro "power_off" passed 1 arguments, but takes just 0
As ever a quick plea to the forums and in a flash a new config.h appeared and the wiki was updated, solving this problem.
Next up, the RepRap Host was throwing up some errors when I tried to connect to the printer:

Again the sages of the forums came to the rescue – as I hadn’t set up the thermistors in the config.h file, Teacup was returning ‘OK’ for the value of the temperature which the RepRap Host does not like.
Communicating with the firmware using PuTTy (enabling XOn/XOff in the firmware) overcame this, but revealed some strange behaviour. It responded to the X command as expected i.e. typing in G1 X50 followed by M114 (repeatedly) produced lines that showed the controller thought that the motor had moved towards (and reached) X50. However, if I connected a motor to the X-axis Pololu, the motor did nothing.
Trying lots of different combinations of pololus in different positions produced the curious result of different axes working depending on which position a certain pololu was in. This specific pololu had previously produced some smoke so I suspected it had blown; luckily I had a spare. Not being able to figure out what the heck was going on, I removed all the jumpers controlling the microstepping (MS2 and MS3) and worked through each axis in turn, increasing the microstepping on success. All looked fine until the E axis – on half stepping it worked fine, but on 1/8th none of the axes worked! Turns out there was a connection between the MS2 and EN tracks invisible to the naked eye. Now that has been removed it all works.
So all (!) that is left is to hook the motors, heater and thermistor up and enter all the calibration settings in the firmware.
Observations
The difference in volume in the motors from Gen 3 is incredible and it seems the higher the microstepping the less noise they emit. I can already tell it will be unnerving not being able to listen out from the other room for the end of the print – I shall have to come up with some sort of alert on my phone instead. (Surely someone has done something like this already?!)
One thing I do miss from the Gen 3 electronics on Mendel are the LEDs – not only are they helpful in spotting any problems, but they also add a cheerful splash of colour which is almost as hypnotic to watch as the printing itself.