In order to compile and upload Arduino sketches to custom boards like the TVRRUG OMC the configuration of the board must be specified, for example what chip it uses at what clock speed etc.
In version 1.6.4 the Arduino IDE changed the way custom boards are defined and managed in order to support a wider range of chip architectures.
TVRRUG member Bo has figured out the changes and made it as simple as can be for the rest of us to use the latest versions of Arduino with our OMCs and provided instructions at the TVRRUG githhub repo. Thanks Bo!
Here follows an idiot’s version of Bo’s instructions.
- If you haven’t already, download and install the latest Arduino IDE (here I’m using version 1.8.2).
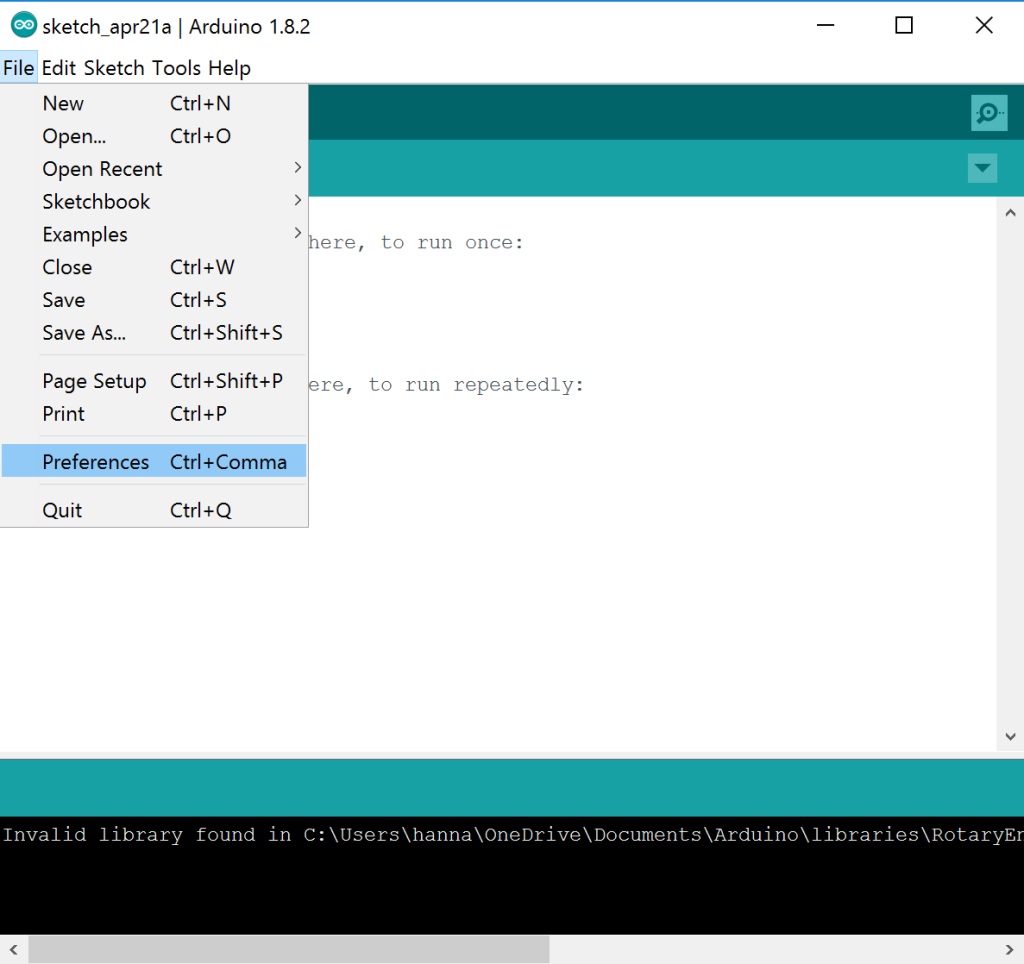
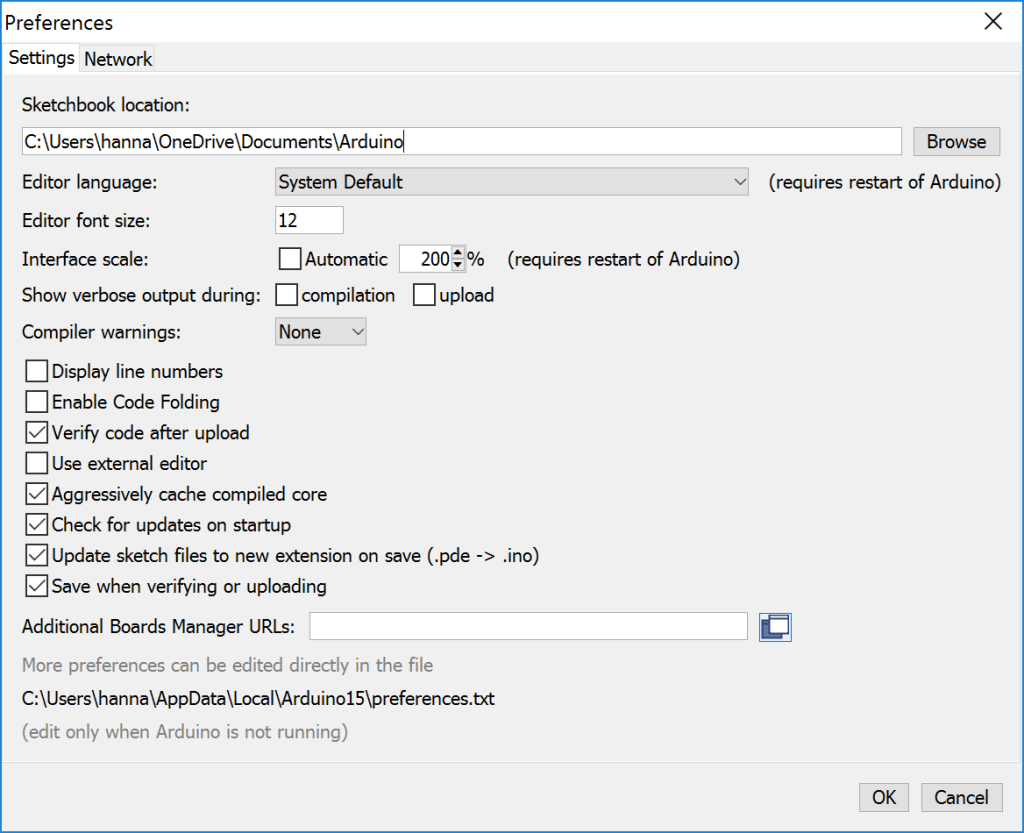
- Open the IDE and open Preferences by File | Preferences or using the Ctrl + Comma shortcut.

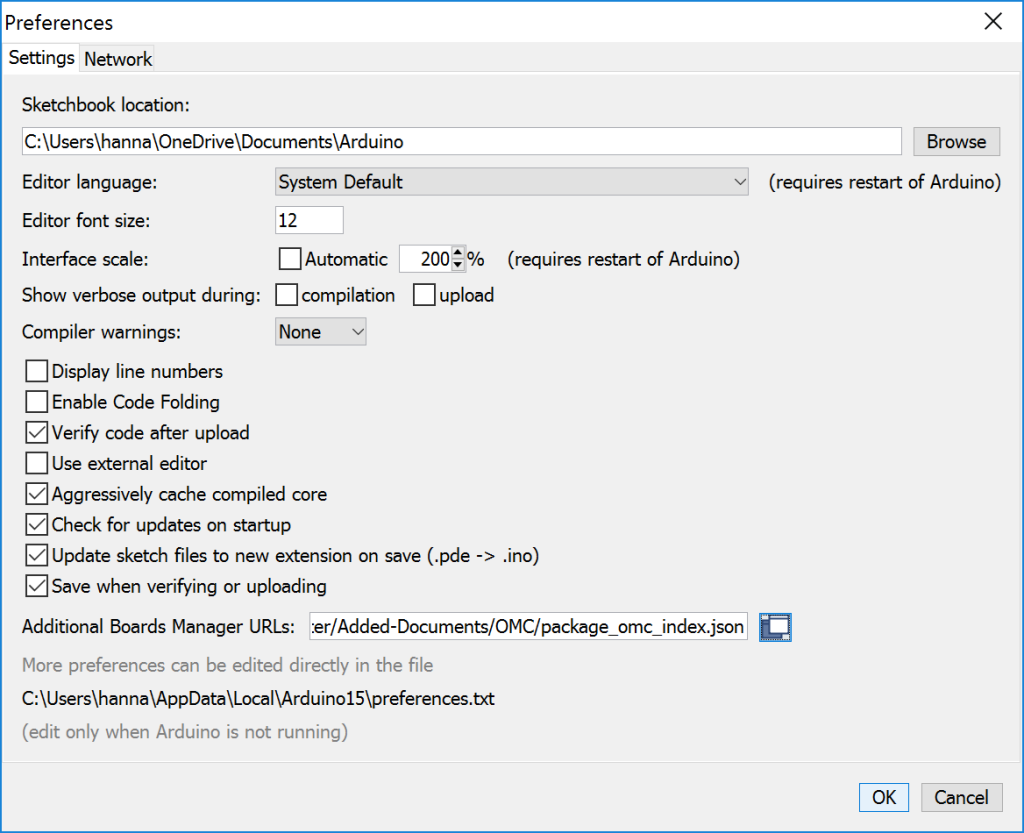
- Open the Additional Boards Manager URLs window by pressing the icon at the right of the Additional Boards Manager URLs text box.

- Paste https://raw.githubusercontent.com/ThamesValleyReprapUserGroup/Beta-TVRRUG-Mendel90/master/Added-Documents/OMC/package_omc_index.json onto a new line and click OK.

- Click OK to close the Preferences window.

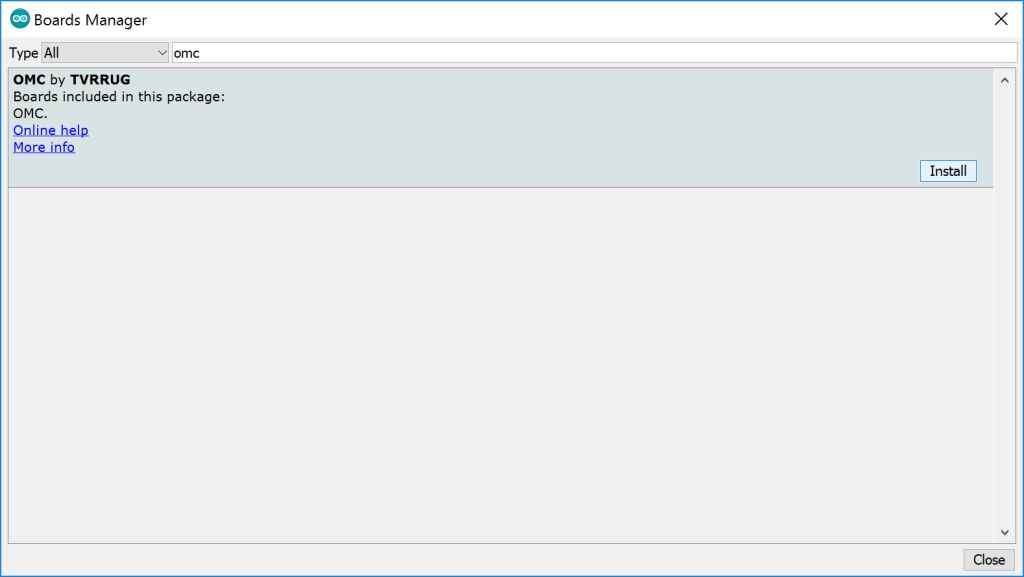
- Open the Boards Manager via Tools | Board | Boards Manager.

- Search for OMC

- Highlight OMC and click Install

- OMC by TVRRUG is installed. Click Close.

- Select OMC with Atmega644p at 20MHz from the Tools | Board menu.

Note: Options have been provided for OMCs with Atemga 644 or 644p chips. OMCs were usually supplied with Atmega 644p chips but check the markings on your chip if the 644p option does not work when uploading sketches to your board.
Congratulations! You can now upload sketches to your OMC from Arduino.
Coming up soon: how to use an ISP with Arduino to upload firmware to your TVRRUG OMC and avoid that pesky reset timing issue.
