
Finally, after 24½ years, I have apparently become fed up of living in chaos and am on a bit of an organisation kick. Unfortunately everything seems to have got worse before it has got better, but I can take heart in one thing at least being tidy – my scarves.
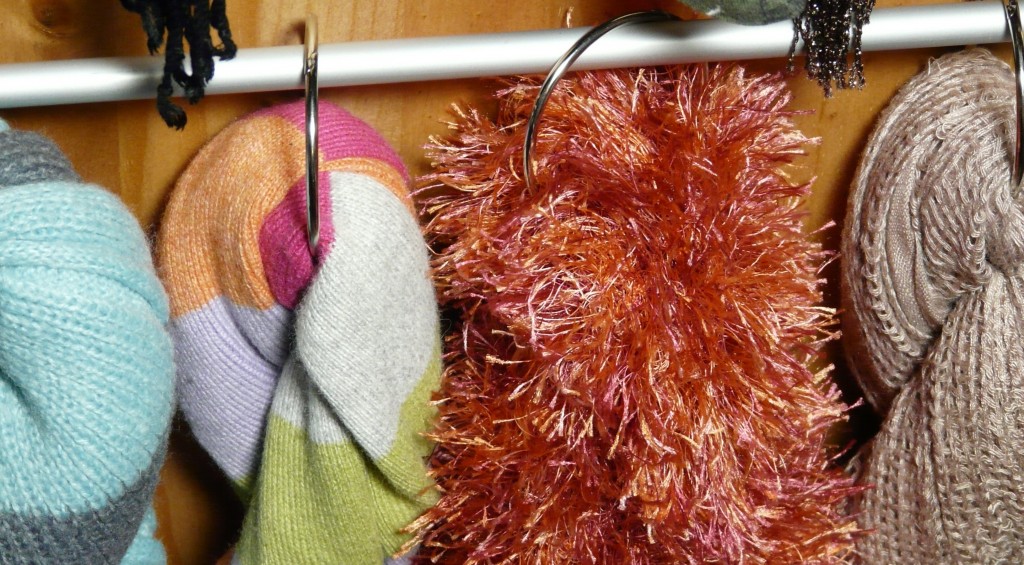
There are several handy scarf organisers floating around the net, most of which involve hangers and curtain rings. One in particular caught my eye using binding rings, which gave it a slick look and I really like the . But using a hanger just didn’t cut it for me – you go to take one scarf off and invariably experience a few hairy minutes as you try to catch all the other scarves before the balance is upset and they all slide to one end, often taking the hanger with them.
A much more sensible option was to mount a rail (or maybe three – it seems I have quite a few scarves) to the inside of my wardrobe door. Then not only would they be lovely and tidy, but also every time I open the wardrobe I can see my scarves hanging there prettily and I might even actually remember to wear the things!
So, armed with some aluminium tube left over from making a Broken Heart, I cast about for options to fix my rail to my wardrobe. I didn’t want to have to screw into the door, but it soon became painfully obviously how unrealistic this was – my attempt at using adhesive hooks ended up with a tangled mess of scarves on the floor. There may have been feline assistance in the arrival of the scarves at their sorry state, but even so, this is unacceptable.
Having resigned myself to screwing into the doors, I stopped wasting time looking for an existing solution and instead designed and printed my own hanging rail ends. All I was missing was some small enough wood screws, and as luck would have it some No 2 x 13mm screws for making our Mendel90 were going spare. A couple of hours later, mission accomplished.
Supplies
- 20 Binding rings – eBay
- 1260mm of 10mm Aluminium tube – originally B&Q
- 8 of No 2 x 13mm wood screws – originally eBay
- 3D printed hanging rail mounts design
Tools
- 3D printer
- Saw
- Level
- Bradawl
- Screwdriver
Assembly
- 3D print 6 hanging rail mounts
- Cut aluminium tube into 3 equal 420mm sections
- Use the bradawl to make pilot holes for the hanging rail mount screws, making sure the rails will be level
- Screw in the rail mounts
- Insert the rods
- Hang scarves
- Step back and admire your handiwork
Hi! I work with engineering website EEWeb.com and would love to do an exchange of website links and feature you as a site of the day on EEWeb. Let me know if this is of interest to you! I can be reached at claire@eeweb.com.
this is such a good idea, i love the way you used rings instead of hooks I’m going to try this too.
Thank you
Excellent information with unique content and it is very useful to know about the information based on blogs.